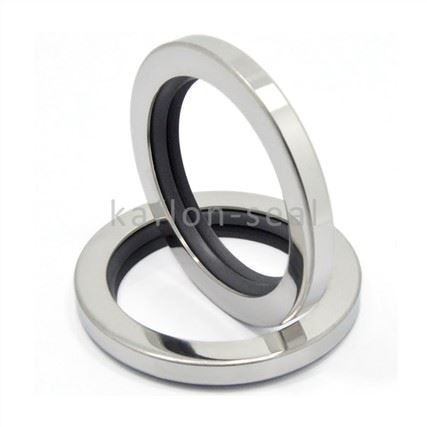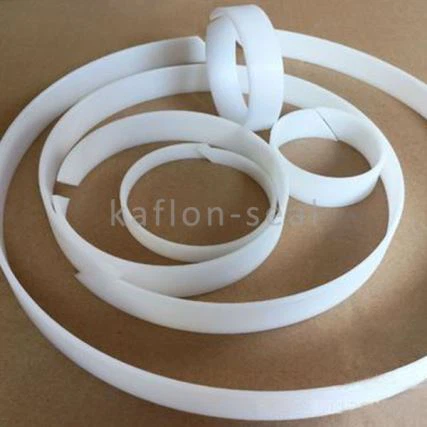

Hey there! As a supplier of Polyurethanes Seals, I often get asked about how to replace an old polyurethanes seal. It's a common issue, and I'm here to walk you through the process step by step.
Why Replace an Old Polyurethanes Seal?
First off, let's talk about why you might need to replace an old seal. Over time, polyurethanes seals can wear out due to factors like friction, heat, chemical exposure, and general use. When a seal starts to fail, it can lead to leaks, which can cause all sorts of problems. For example, in a hydraulic system, a leaky seal can reduce system efficiency, contaminate the fluid, and even cause damage to other components. So, replacing a worn - out seal in a timely manner is crucial to keep your equipment running smoothly.
Tools and Materials You'll Need
Before you start the replacement process, you'll need to gather the right tools and materials. Here's a list of what you'll typically need:
- A set of wrenches: To remove the parts that are holding the old seal in place.
- A seal removal tool: This can be a simple flat - head screwdriver or a specialized seal pick. Just be careful not to damage the surrounding surfaces when using these tools.
- A new polyurethanes seal: Make sure you choose the right size and type for your application. We offer a wide range of seals, like the High Wear Resistance CPU Seal, which is great for applications where there's a lot of friction and wear.
- Lubricant: A small amount of lubricant can make it easier to install the new seal and help it seat properly.
Step 1: Prepare the Work Area
The first step is to prepare your work area. Clean the area around the old seal thoroughly to remove any dirt, debris, or old lubricant. This will prevent any contaminants from getting into the system when you install the new seal. You can use a clean rag and some mild solvent to do this. Make sure the area is dry before you proceed.
Step 2: Remove the Old Seal
Once the work area is clean, it's time to remove the old seal. Use your wrenches to remove any bolts or fasteners that are holding the parts in place. Be careful not to lose any small parts. Then, use your seal removal tool to gently pry the old seal out. Start at one edge and work your way around, being careful not to scratch or damage the sealing surface. If the seal is stuck, you can try applying a little heat to it using a heat gun on a low setting. This can make the seal more flexible and easier to remove.
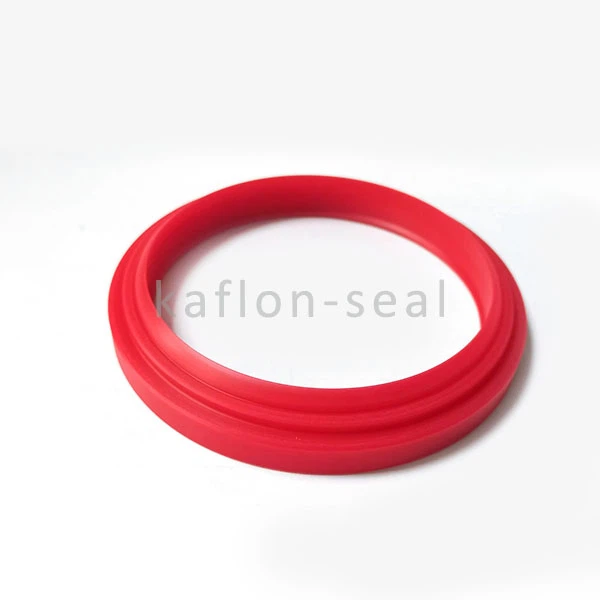

Step 3: Inspect the Sealing Surface
After removing the old seal, take a close look at the sealing surface. Check for any signs of damage, such as scratches, nicks, or corrosion. If you find any damage, you'll need to repair or replace the damaged part before installing the new seal. A damaged sealing surface can prevent the new seal from forming a proper seal, leading to leaks. You can use a fine - grit sandpaper to smooth out minor scratches, but for more serious damage, it's best to consult a professional.
Step 4: Select the Right New Seal
As I mentioned earlier, choosing the right new seal is crucial. Consider factors like the size, shape, and material of the old seal. You also need to think about the operating conditions of your application, such as temperature, pressure, and the type of fluid that the seal will be in contact with. For example, if your application involves contact with milk, our Milk Resistance TPU Ring would be a great choice. And if hydrolysis is a concern, the Polyurethane with Resistant to Hydrolysis is the way to go.
Step 5: Install the New Seal
Before installing the new seal, apply a thin layer of lubricant to the seal and the sealing surface. This will make it easier to install the seal and help it form a good seal. Carefully place the new seal into the groove or cavity, making sure it's properly aligned. Use a seal installation tool or a flat - ended object to gently press the seal into place. Make sure the seal is fully seated and there are no gaps or wrinkles.
Step 6: Reassemble the Parts
Once the new seal is installed, it's time to reassemble the parts. Use your wrenches to tighten the bolts or fasteners back into place. Make sure you tighten them to the correct torque specification. Over - tightening can damage the seal or the parts, while under - tightening can lead to leaks.
Step 7: Test the System
After reassembling the parts, it's important to test the system to make sure the new seal is working properly. Start the system and check for any signs of leaks. Look for any drips, puddles, or changes in system performance. If you find a leak, stop the system immediately and check the installation of the seal. You may need to remove the seal and reinstall it correctly.
Troubleshooting Tips
- If the new seal leaks right away, check if it's installed correctly. Make sure it's fully seated and there are no gaps or wrinkles.
- If the seal fails after a short period of use, it could be due to a problem with the sealing surface or the wrong type of seal being used. Go back and inspect the sealing surface and make sure you've chosen the right seal for your application.
Conclusion
Replacing an old polyurethanes seal might seem like a daunting task, but if you follow these steps, it can be a relatively straightforward process. Remember to choose the right seal for your application, take your time during the installation process, and test the system thoroughly. If you have any questions or need help choosing the right seal, don't hesitate to reach out. We're here to help you keep your equipment running smoothly. Whether you're in the automotive, manufacturing, or any other industry that uses polyurethanes seals, we've got the products and expertise to meet your needs. So, if you're looking to purchase high - quality polyurethanes seals, get in touch with us for a consultation and let's start a great business relationship.
References
- "Sealing Technology Handbook" by John S. Campbell
- "Polyurethane Elastomers: Science and Technology" by George Woods